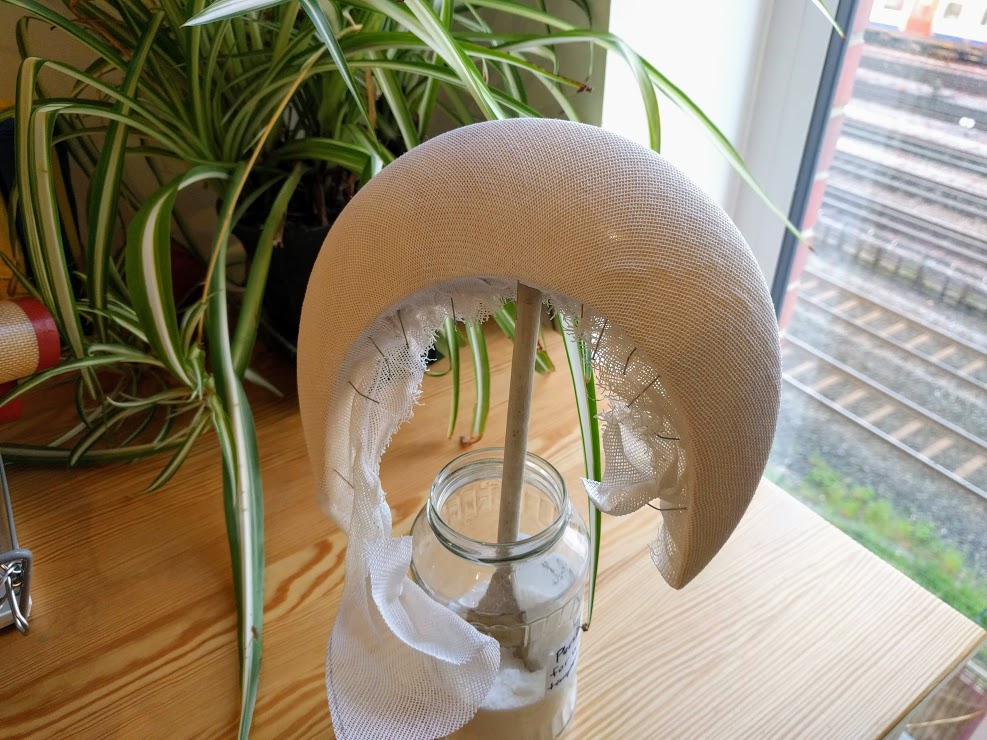
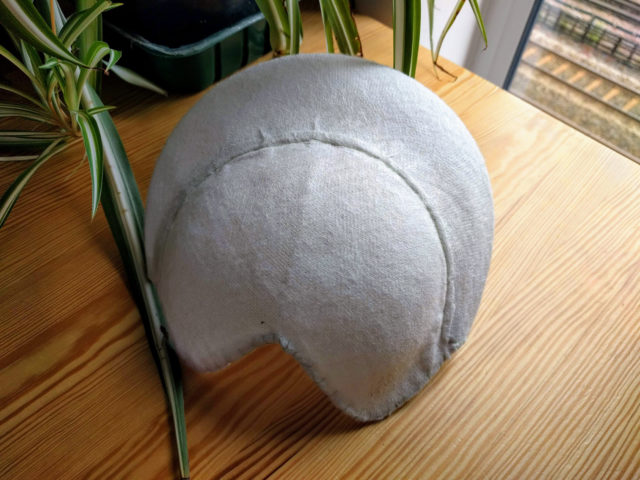
Blocking
The buckram was difficult to stretch over the block even though it was on the bias. On the photo you can see some bubbles on the right of the halo. With practice I could get it better.
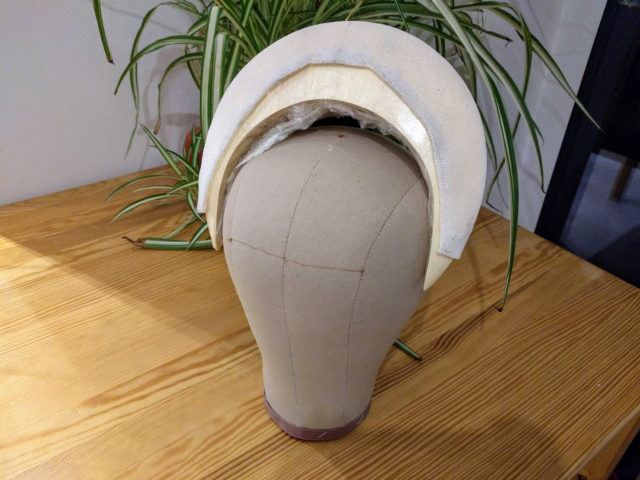
Shaping
I cut into the centre front by 2.5cm and folded the exes to the inside. The curve could have been smoother, which I could have done by making more cuts (I only did 4). I then cut and folded 2cm off at the ears, so that the hat could sit above the ears. Once I did all the cuts, and was happy with the shape, I put the halo back onto the block and ironed the exes down to the inside of the hat. I purposefully left the back at the original length and didn’t cut into it.
Assembling the Whole Hat
This was relatively easy. The most tricky thing was getting the halo centred on the crown. After stitching the two parts of the hat together, I wired it using a blanket stitch.
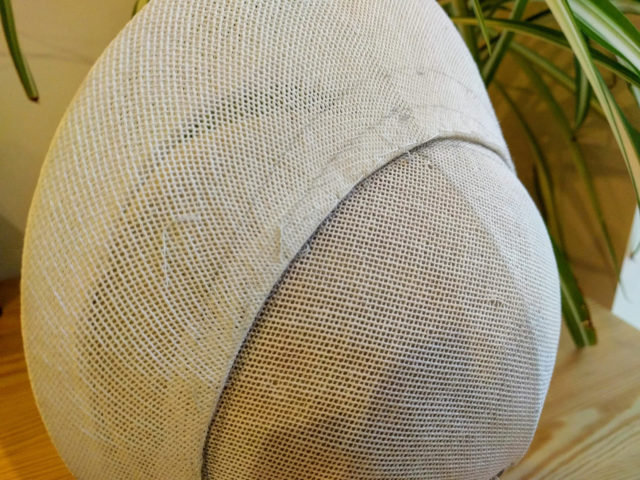
Domet
I ironed and stitched the domet onto the hat in two parts. I did this on the bias so that it would stretch over the halo. The edges are stretched over the wire and pressed to the underside of the hat (by putting the hat back onto the blocks and ironing over the top). I would probably skip the stitching next time, as the iron on domet was very good quality, and stuck down very well using just the iron.
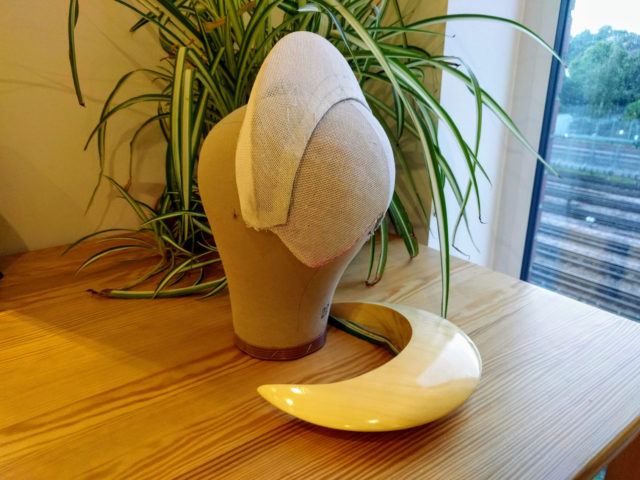
Order of Finishing
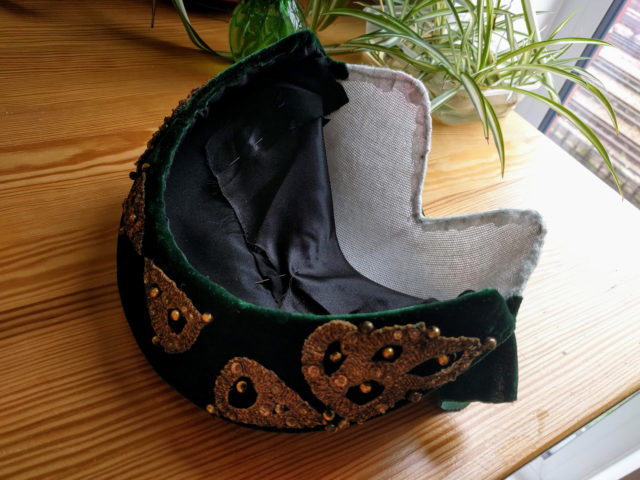
- Part stitch the lining – only to the join of the halo and crown, and also to the inside of the top arc of the halo.
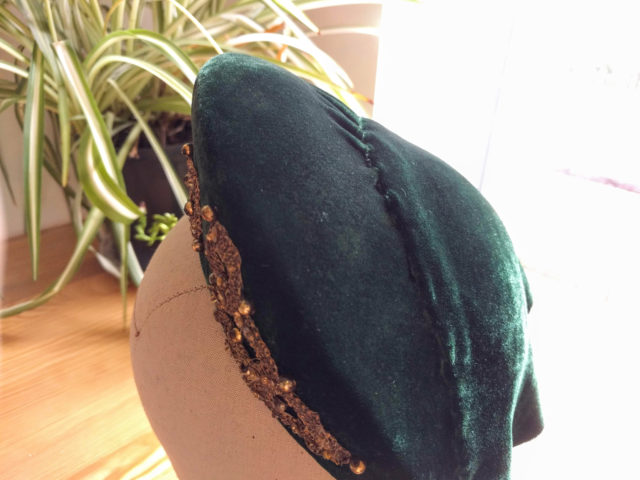
- Stretch the velvet on the bias over the halo.
- Stitch on the gold decoration to the front of the halo – avoiding stitching through the lining.
- Stitch the velvet to the crown (again on the bias).
- Finish the lining by slip-stitching.
- Use a loop turner to make the cord decoration to hide the join in the velvet. Stitch the cord only to the velvet fabric, and not to the hat itself.
- Attach any hat fastenings. I tried to use an elastic, but it didn’t help the hat stay secure on the head, so I used my favourite crisp ribbon veiling.
Pingback: Green Velvet 1940s Halo