Why recreate a vintage hat?
Firstly it felt very fragile to handle. Secondly, there was a rip in the lining, which would have been an easy repair, however through the tear I could see the spartre base of the hat was disintegrating. In addition, the velvet covering was wearing away and the gold beading details had tarnished. I wanted to see how this hat could have looked brand new, rather than looking at it in the sorry state it was in now.
My Process
I took it apart completely. This is where I made my first mistake; I didn’t take any pictures of it close up.
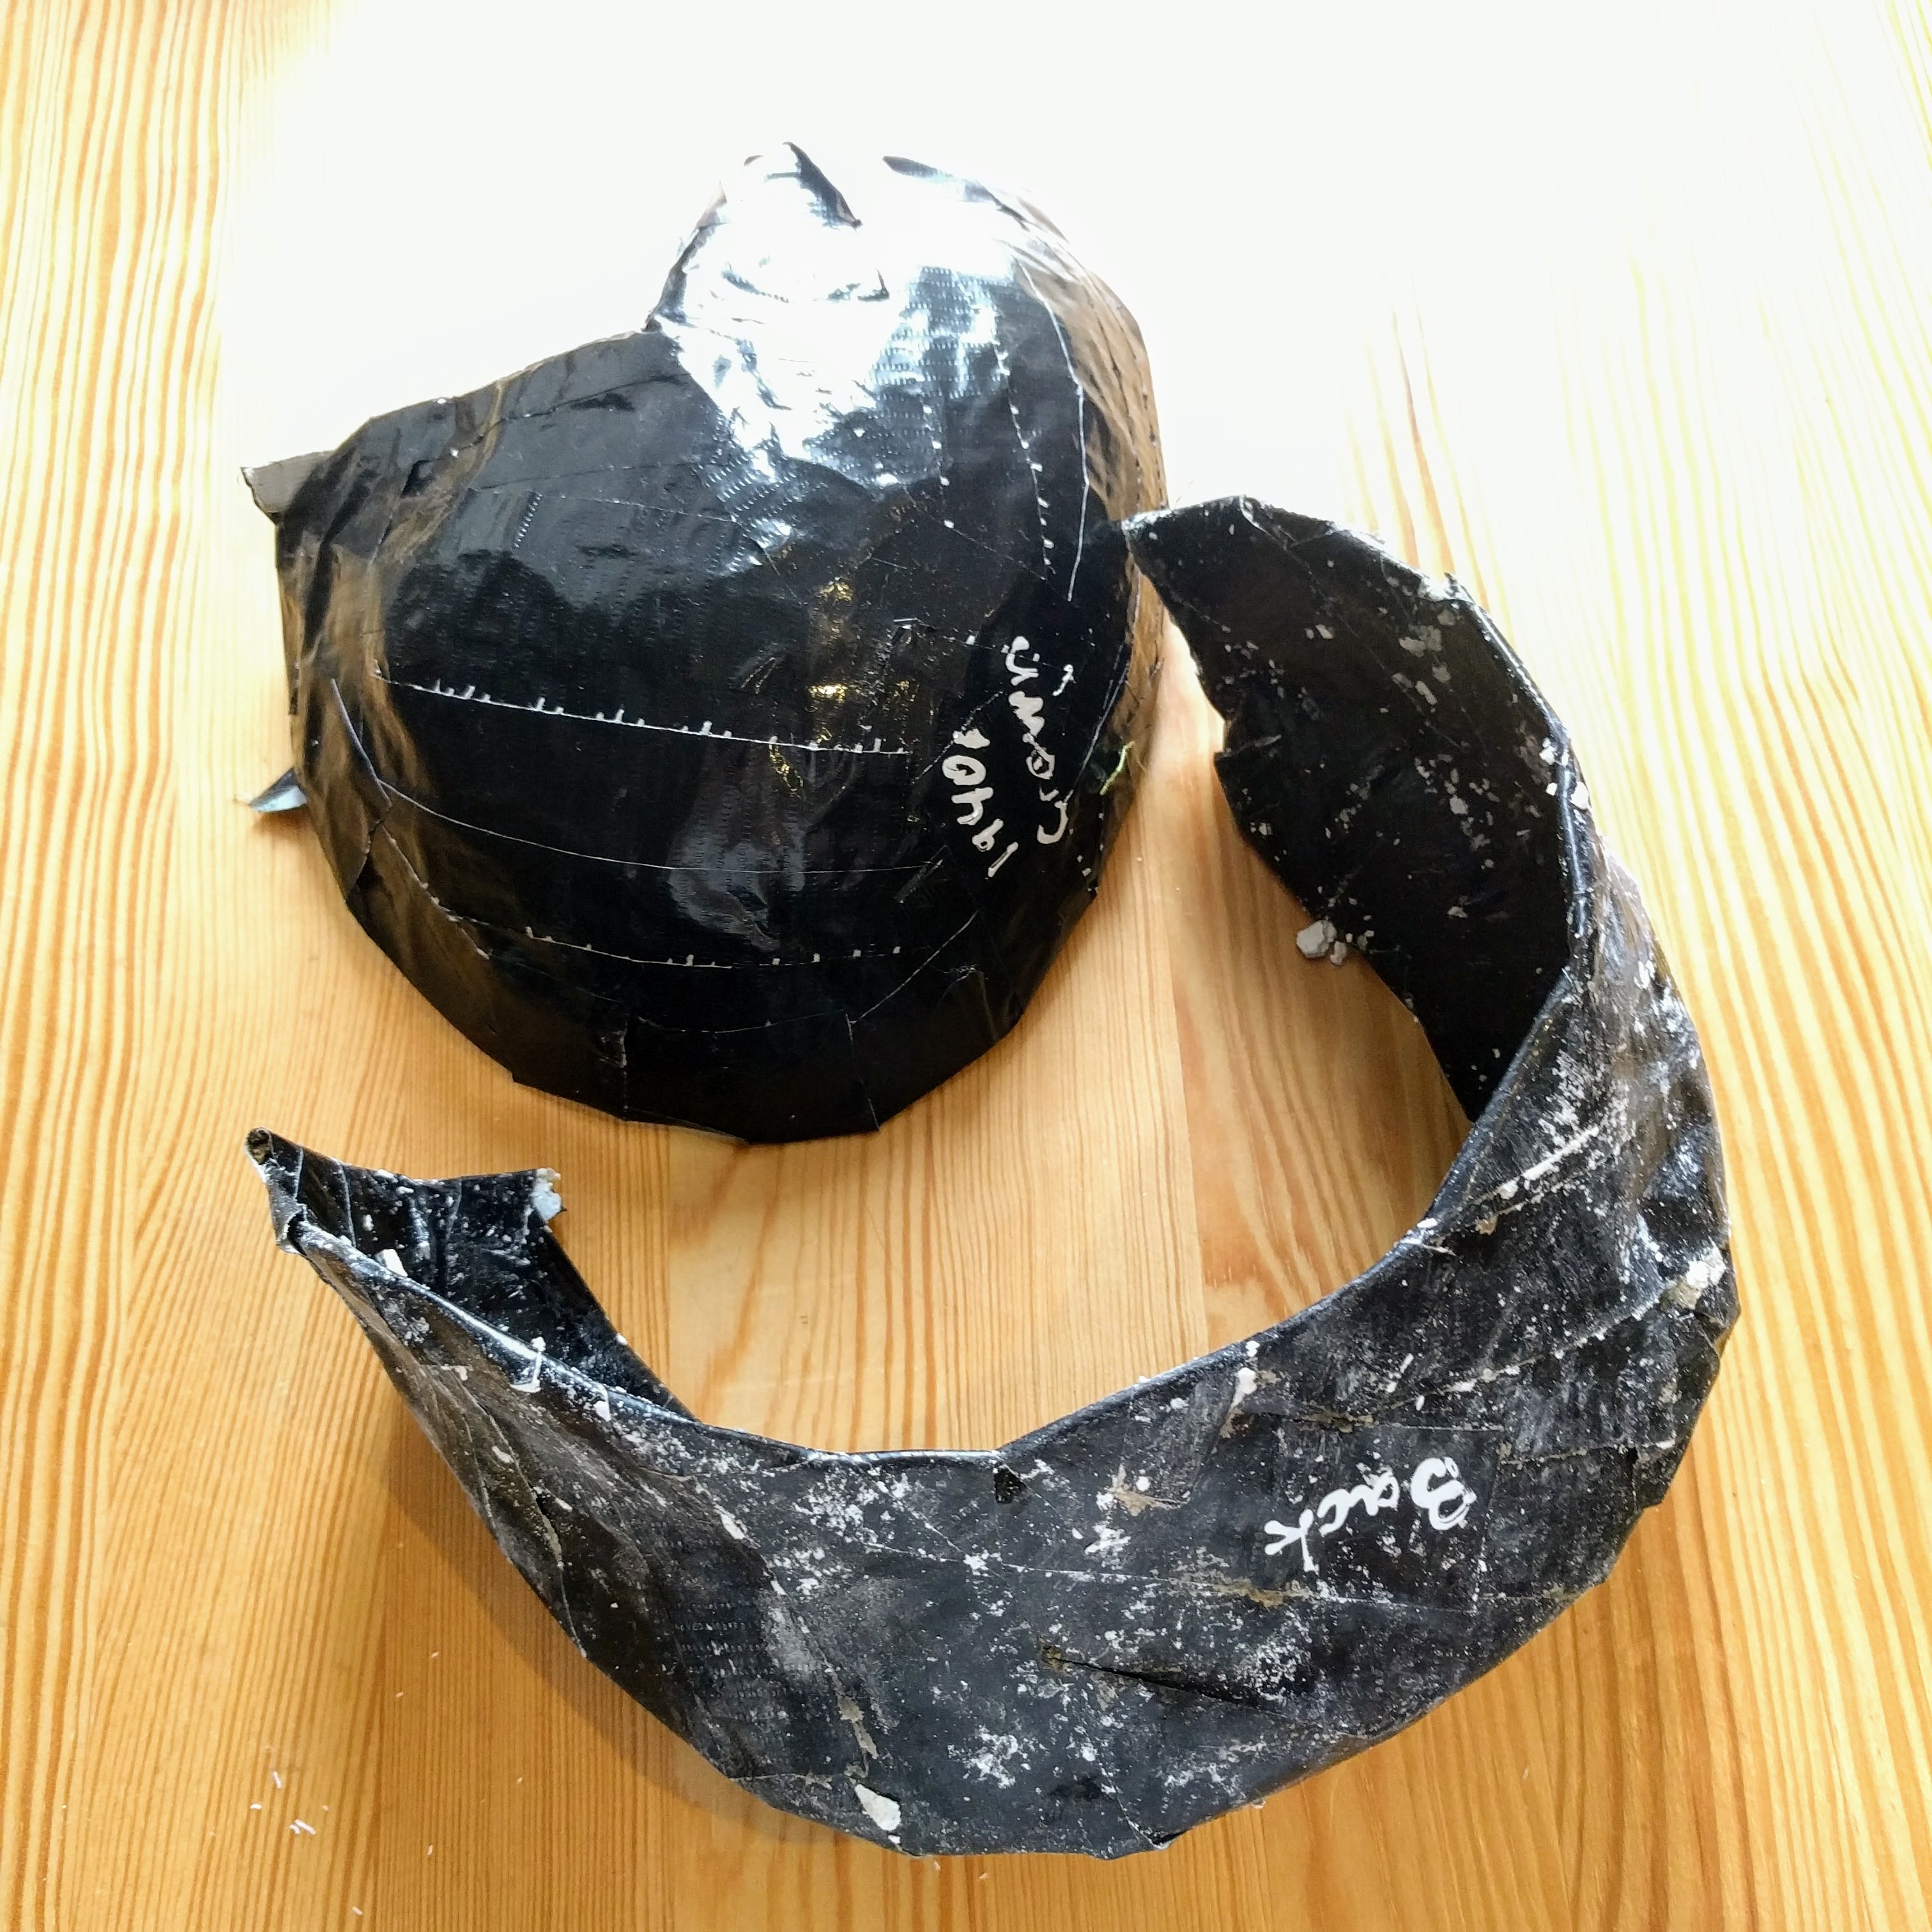
The base was made of spartre in 2 pieces, a halo part and a skull cap part. It was wired with a very thin wire. It was asymmetrical – possibly misshaped over time, or a very poor quality construction in the first place.
Attempt 1
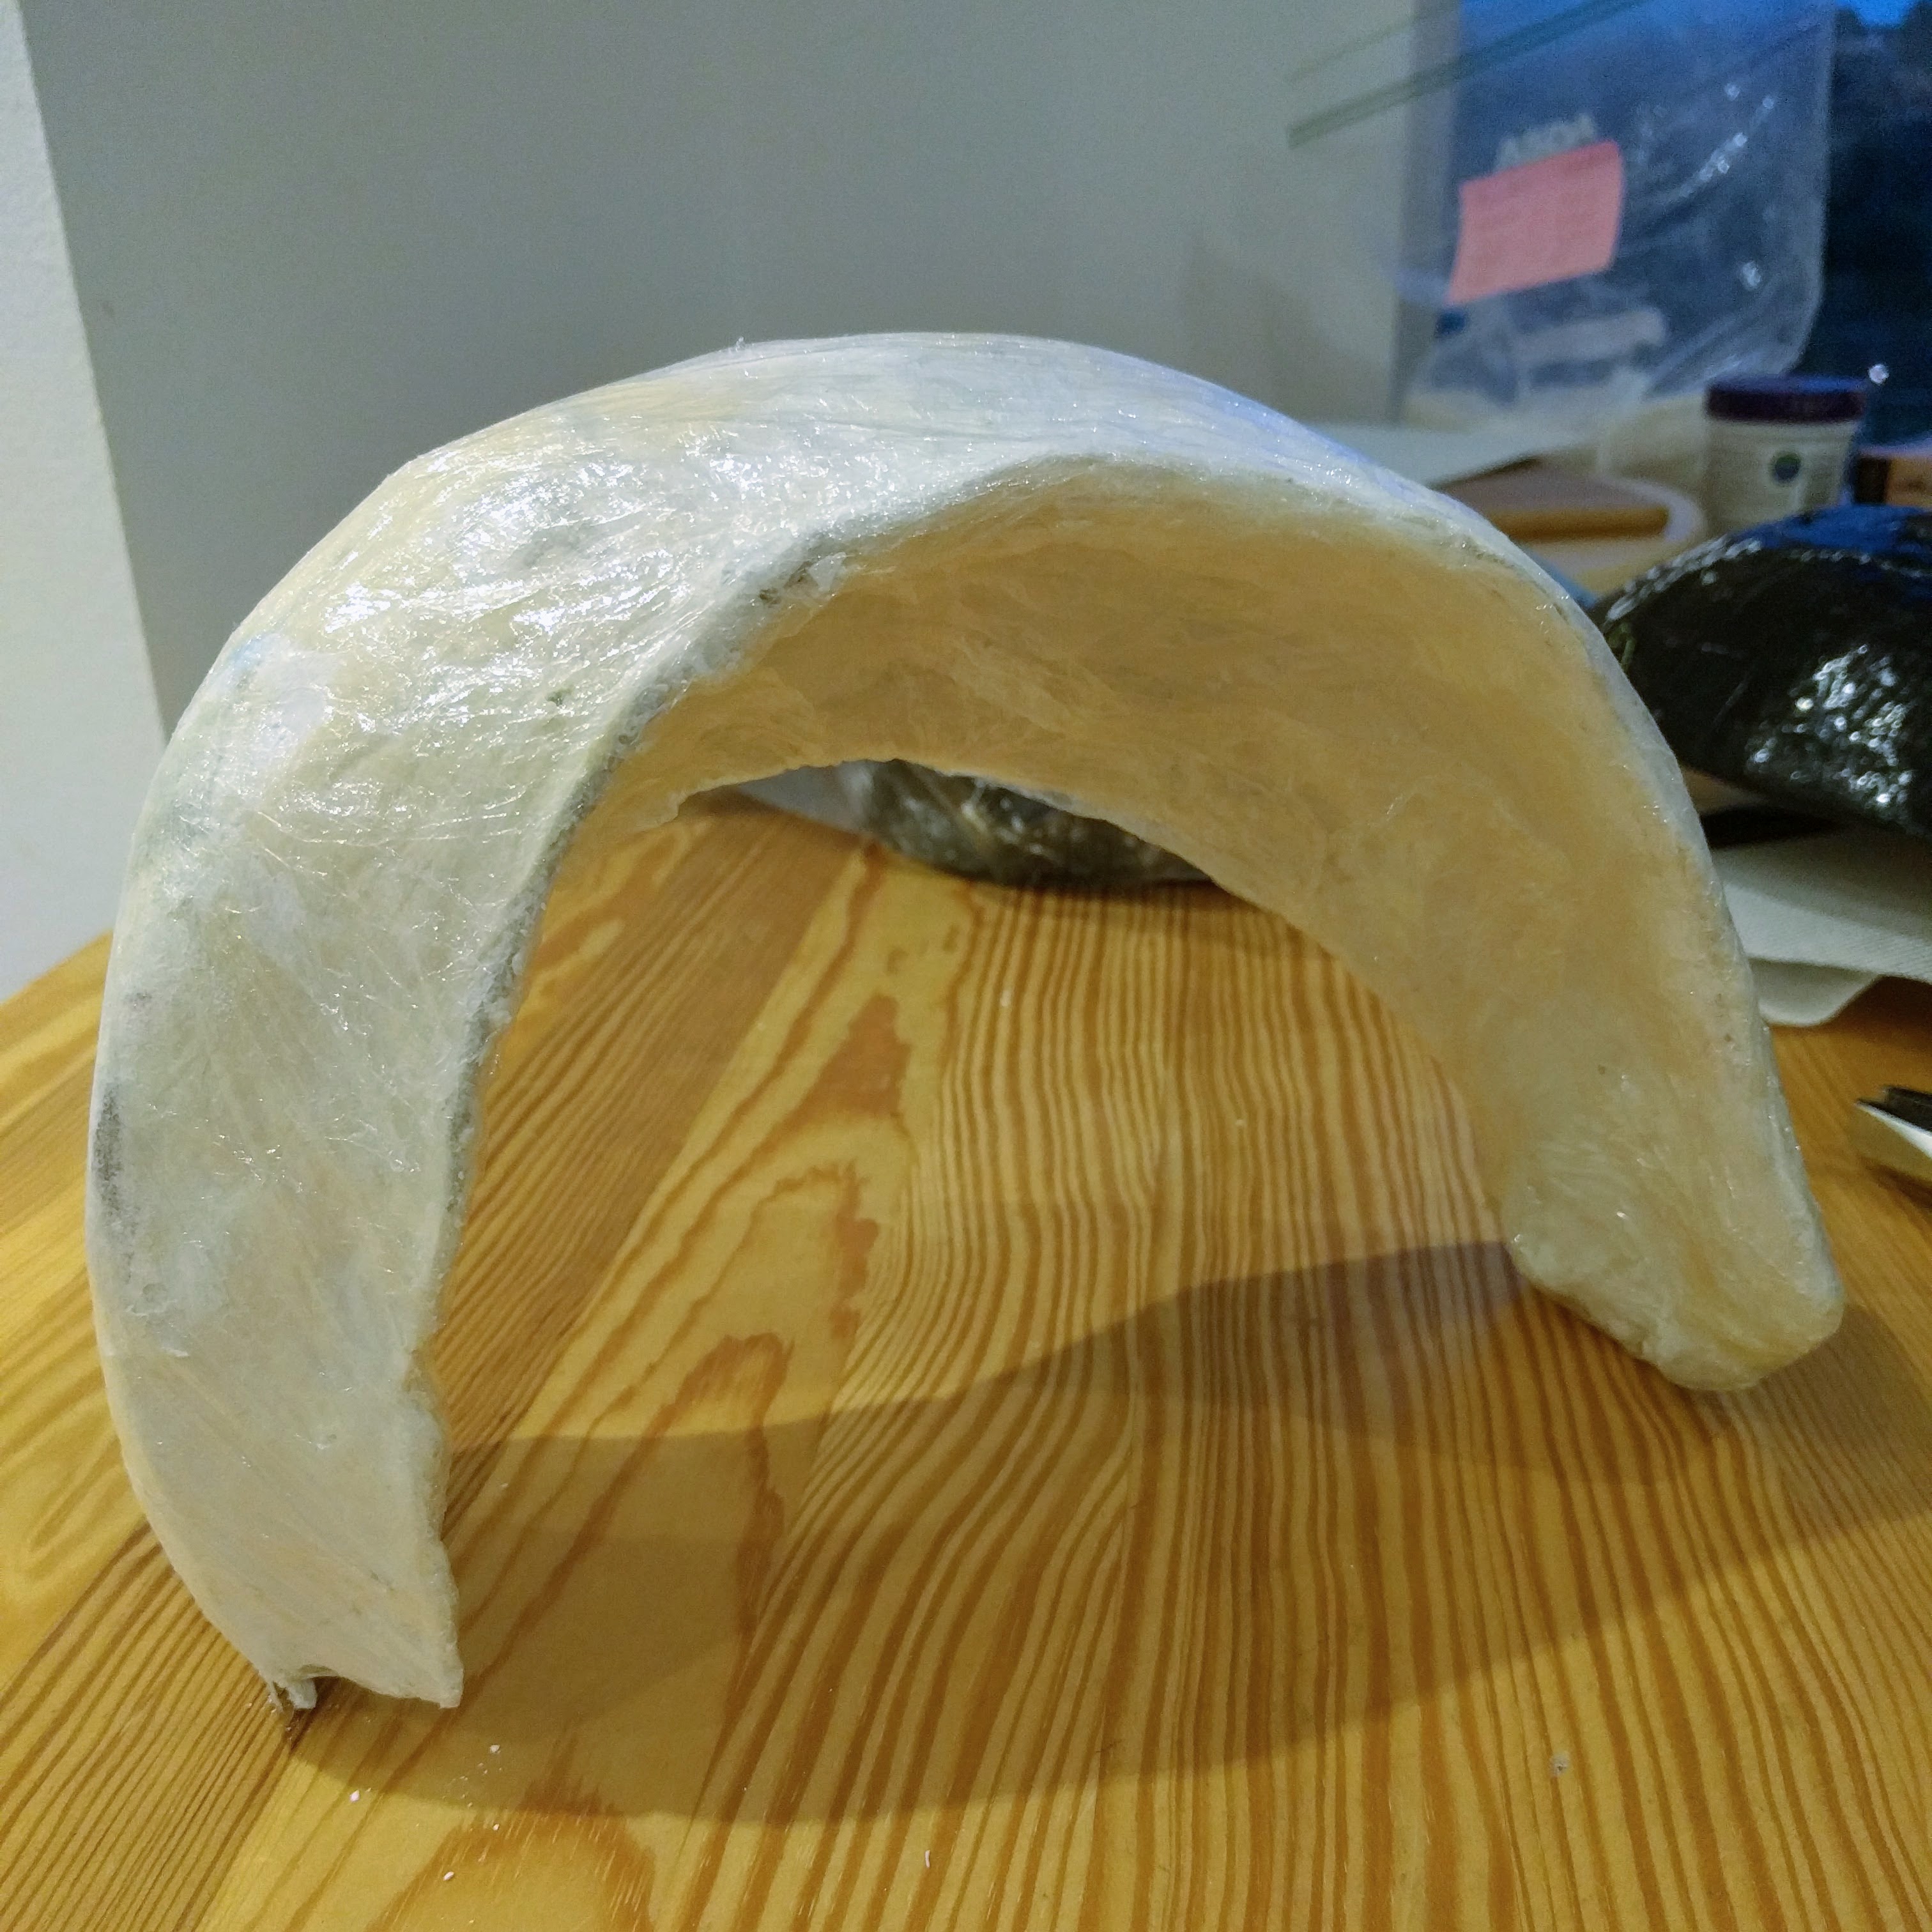
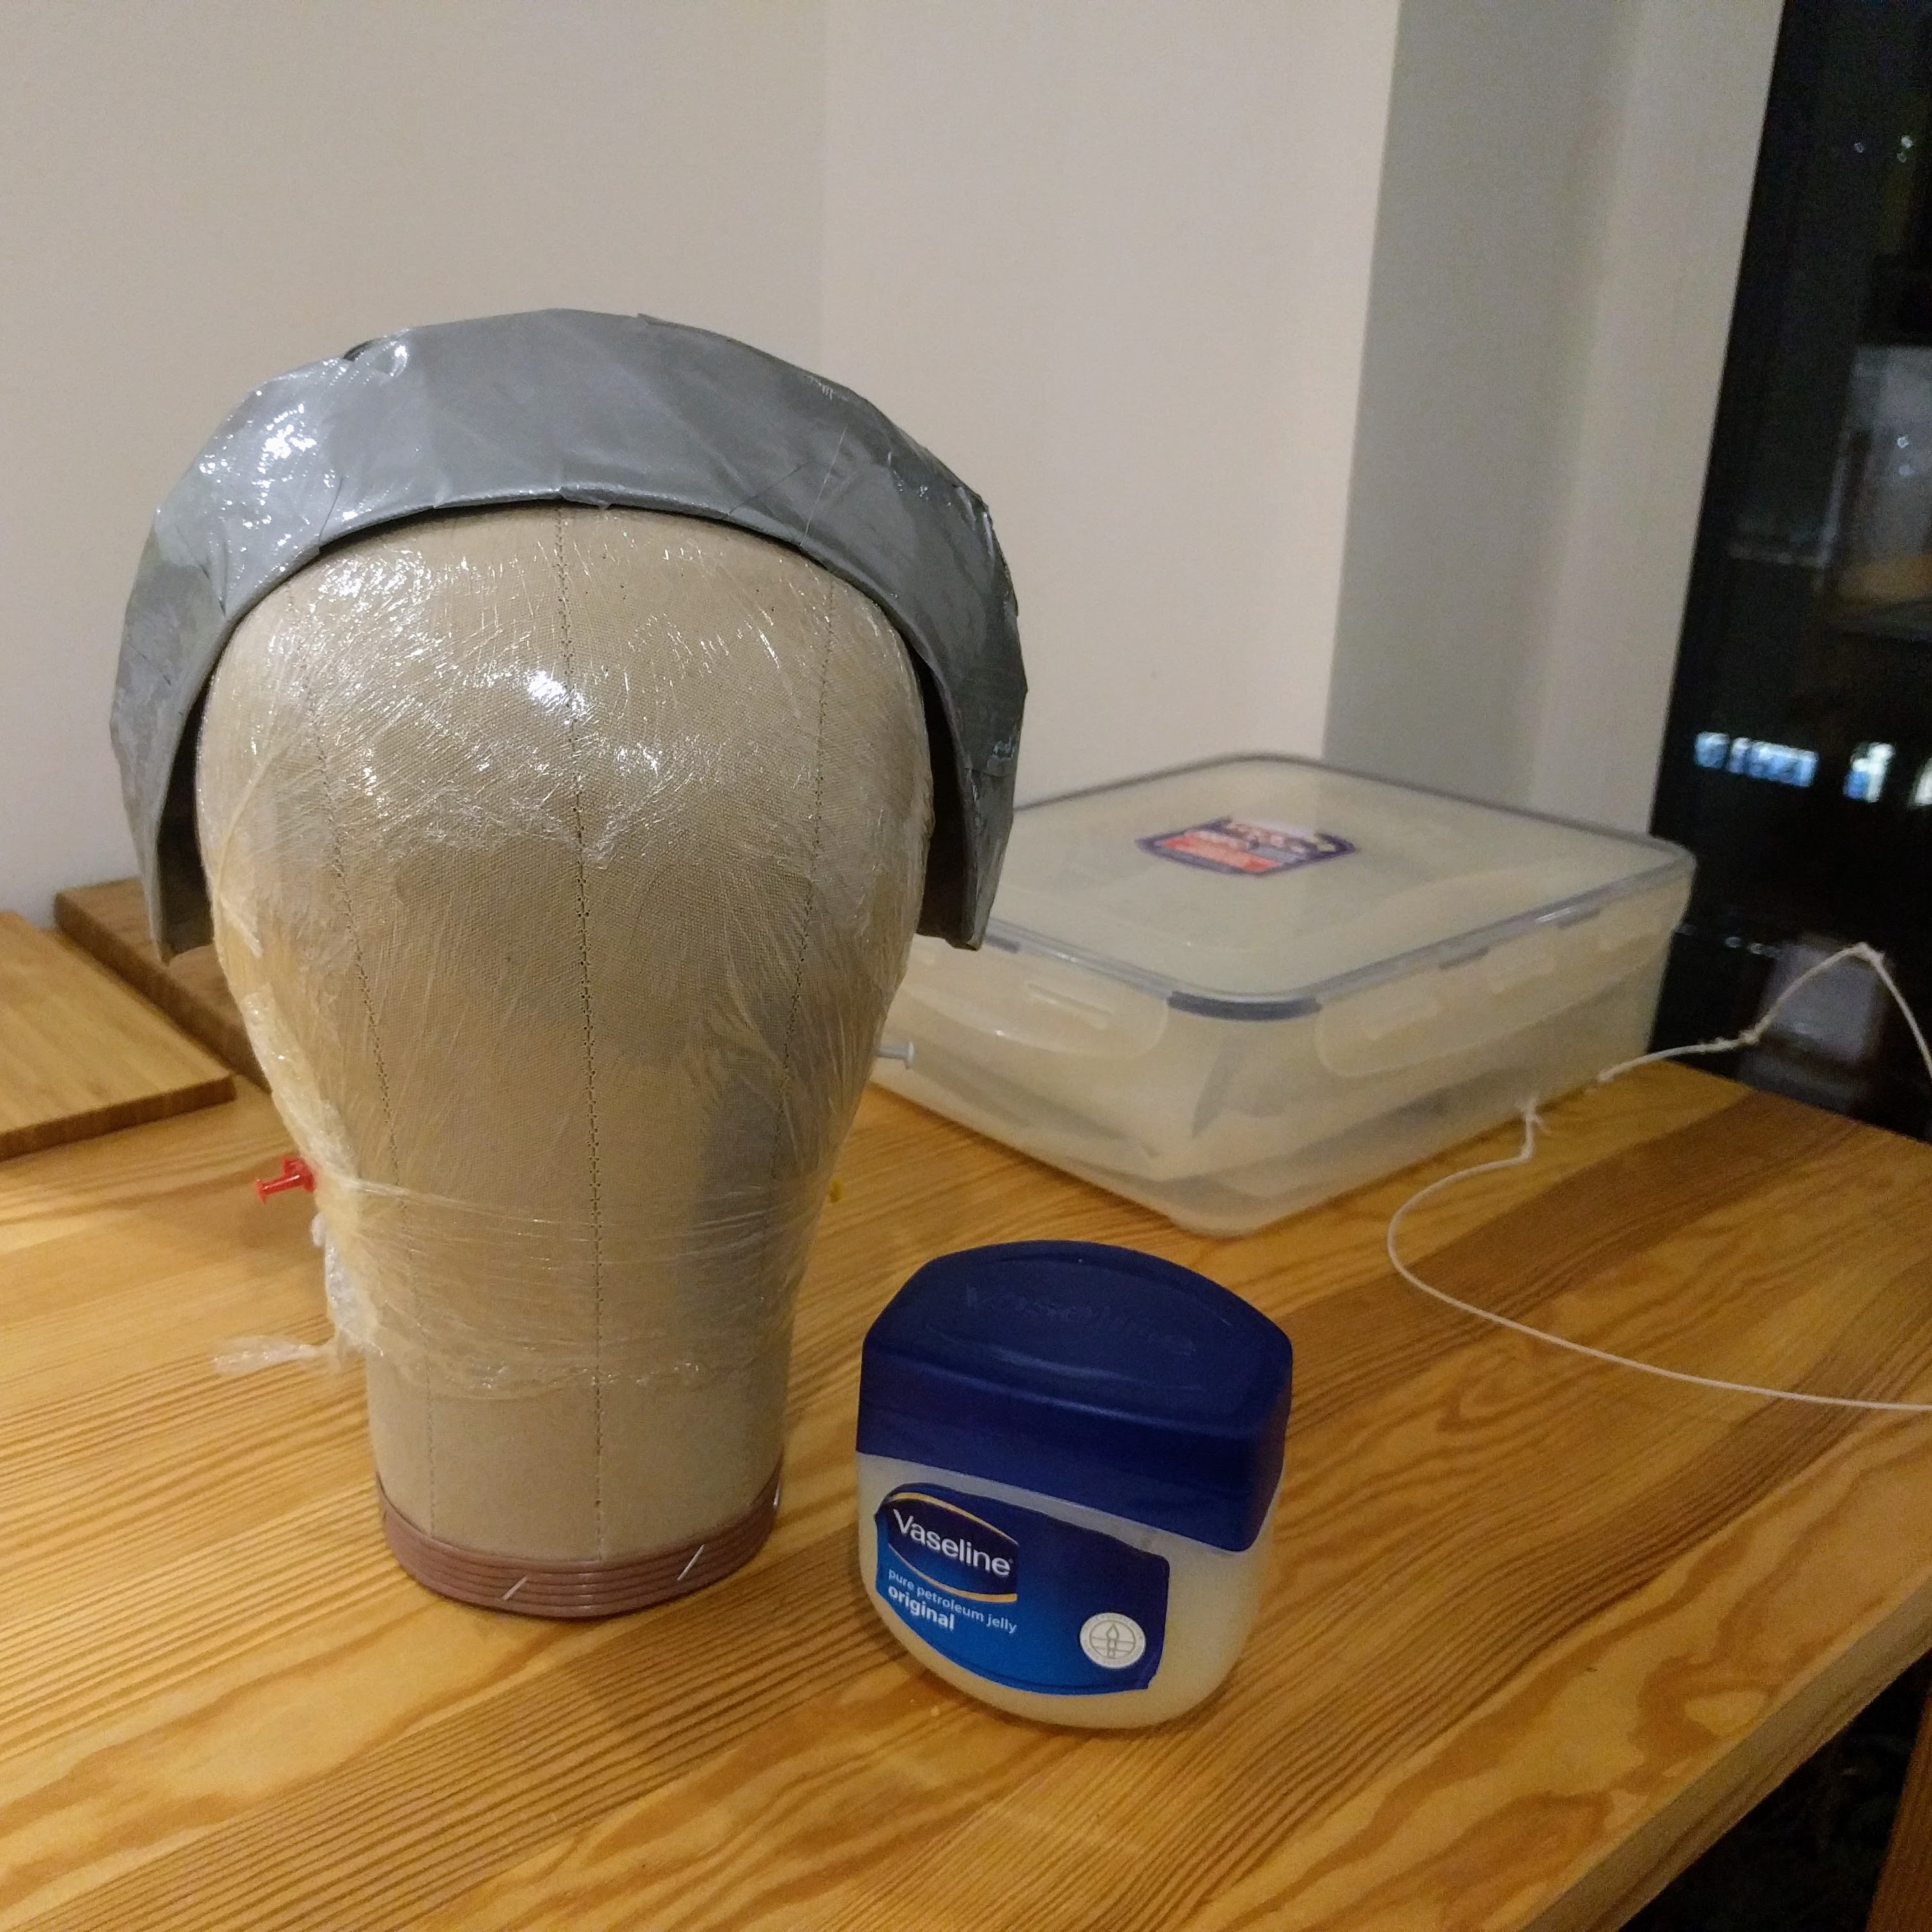
I started with trying to make a block out of plaster for the halo part of the hat. I covered the original spartre with gaffer tape and spread vaseline onto it to ease the release of the plaster block. I then used strips of linen dipped in wet plaster to line the inside of the original halo.
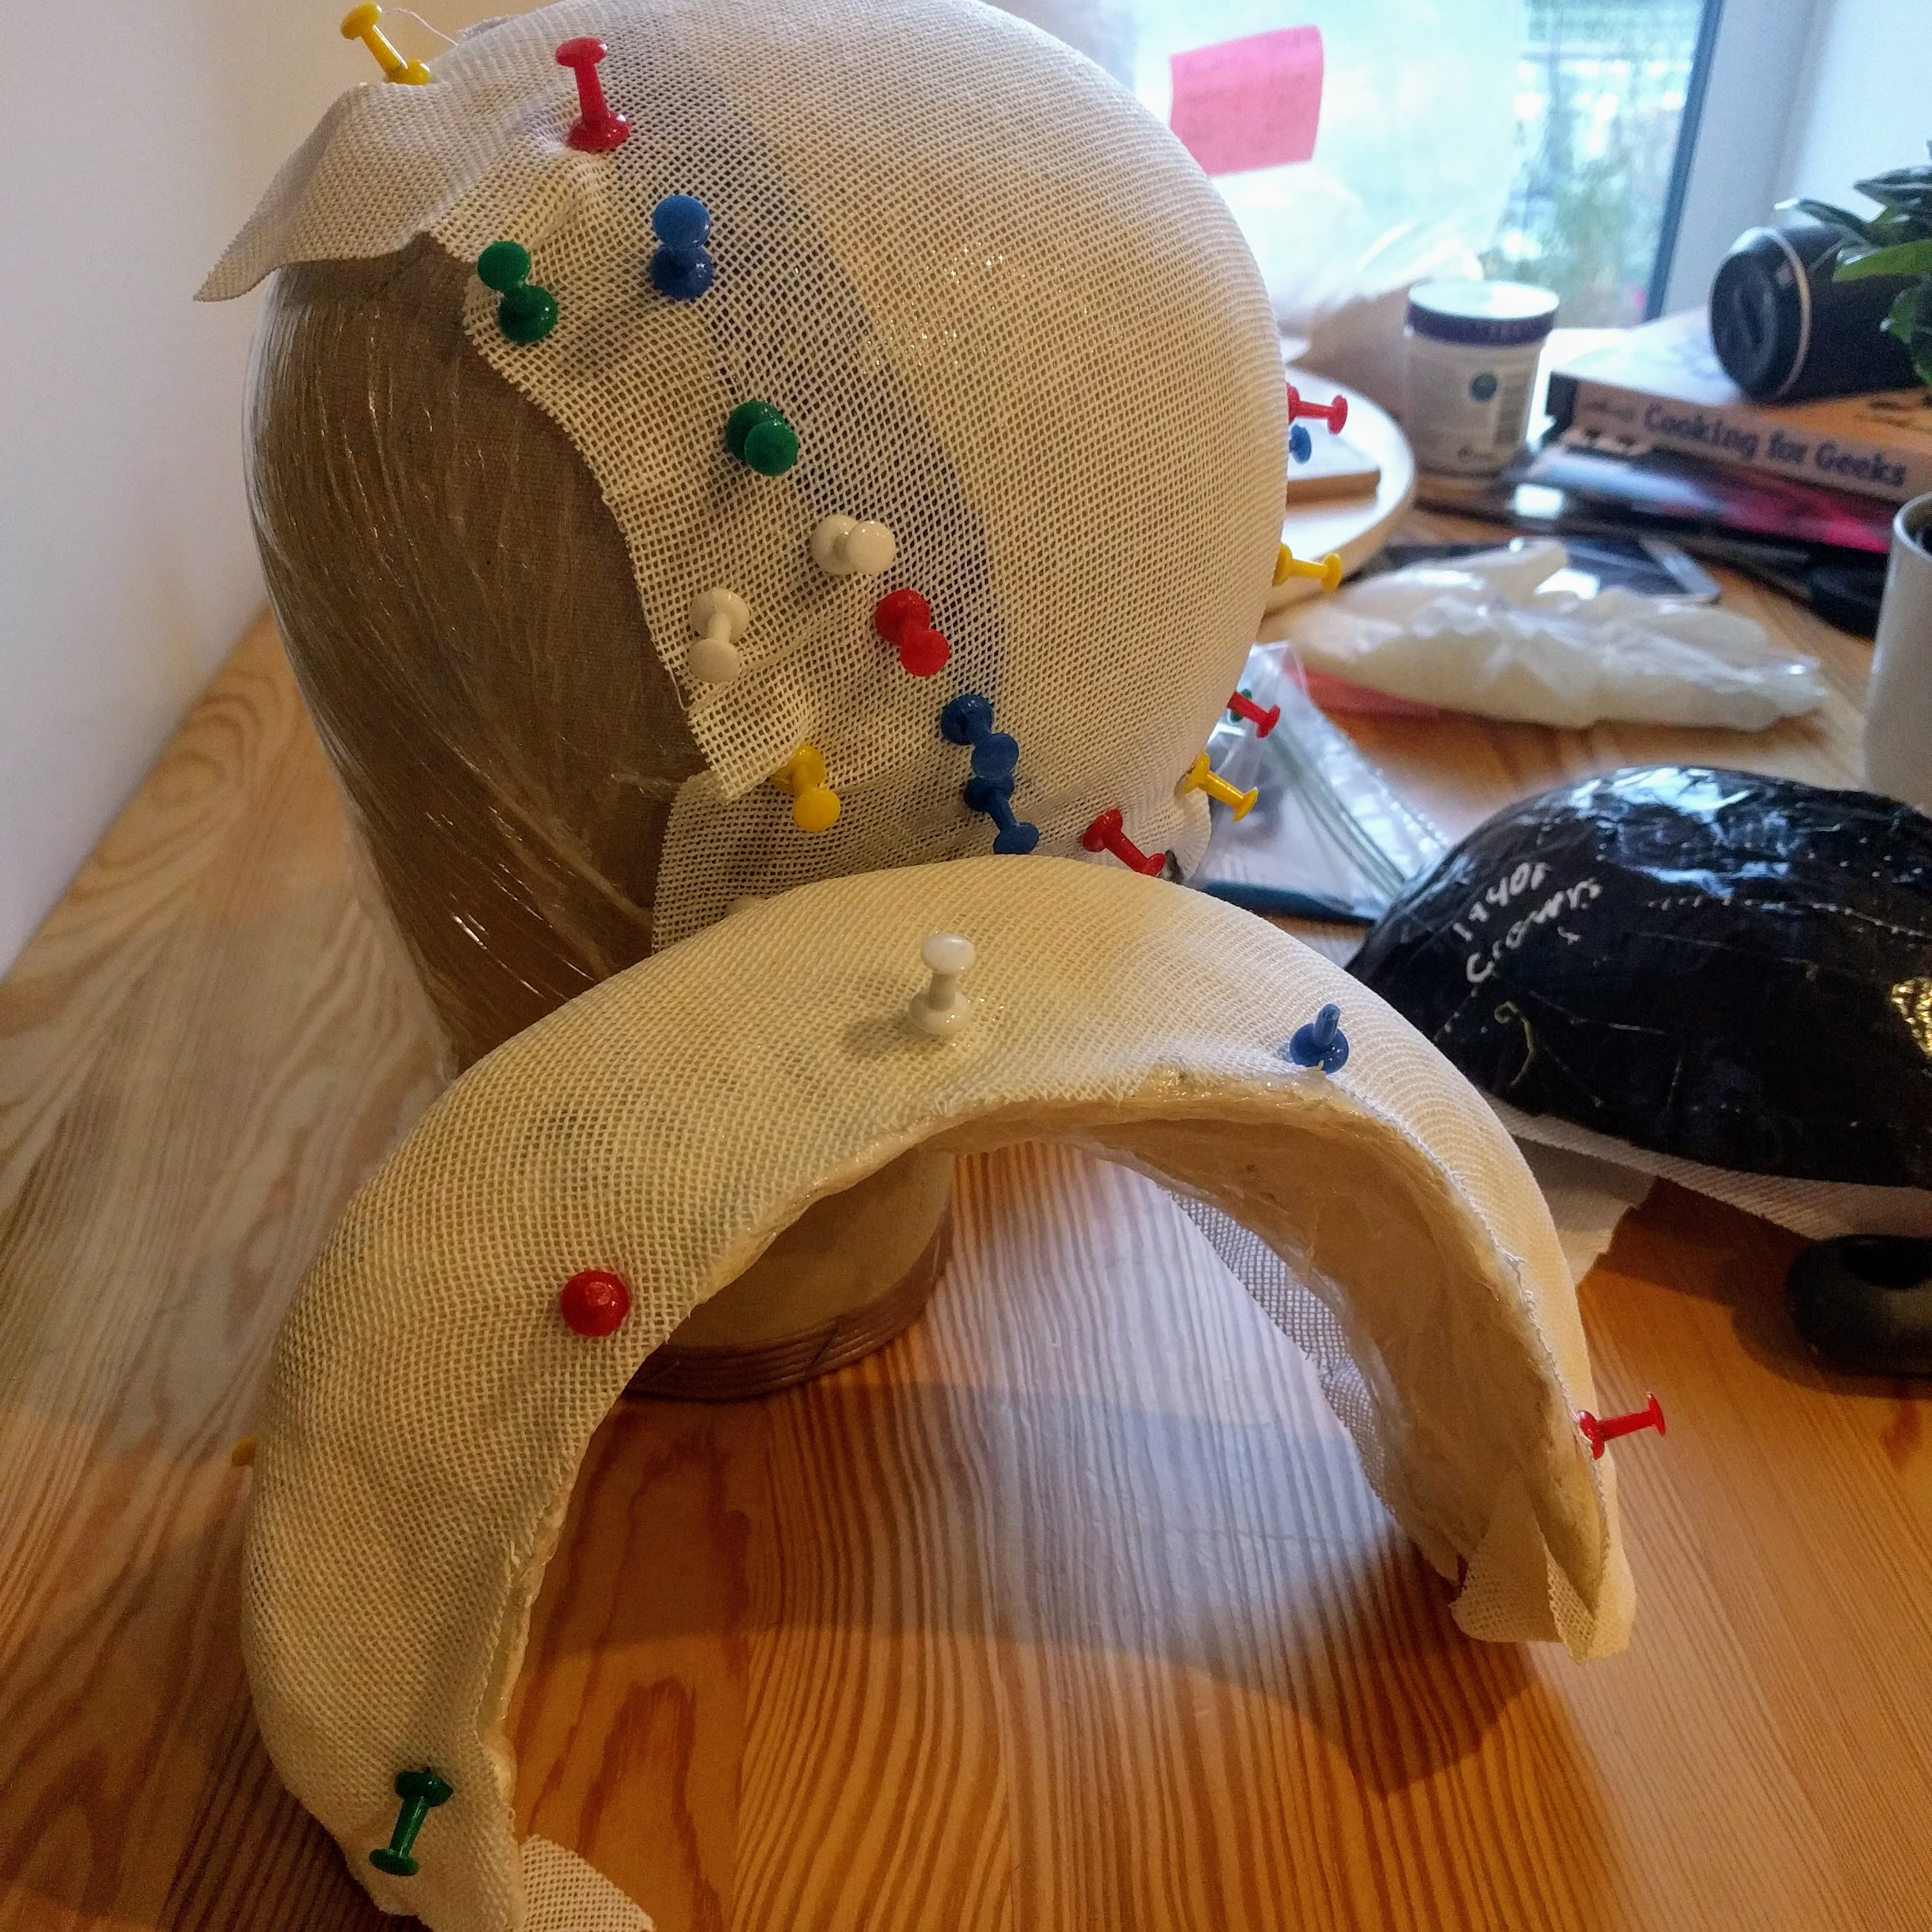
Once the plaster was dry, I covered it in clingfilm and tried to use it like a normal hat block using buckram as my material. I did not cut myself enough buckram to tuck it to the underside of the halo block, this made it difficult to stretch over the block.
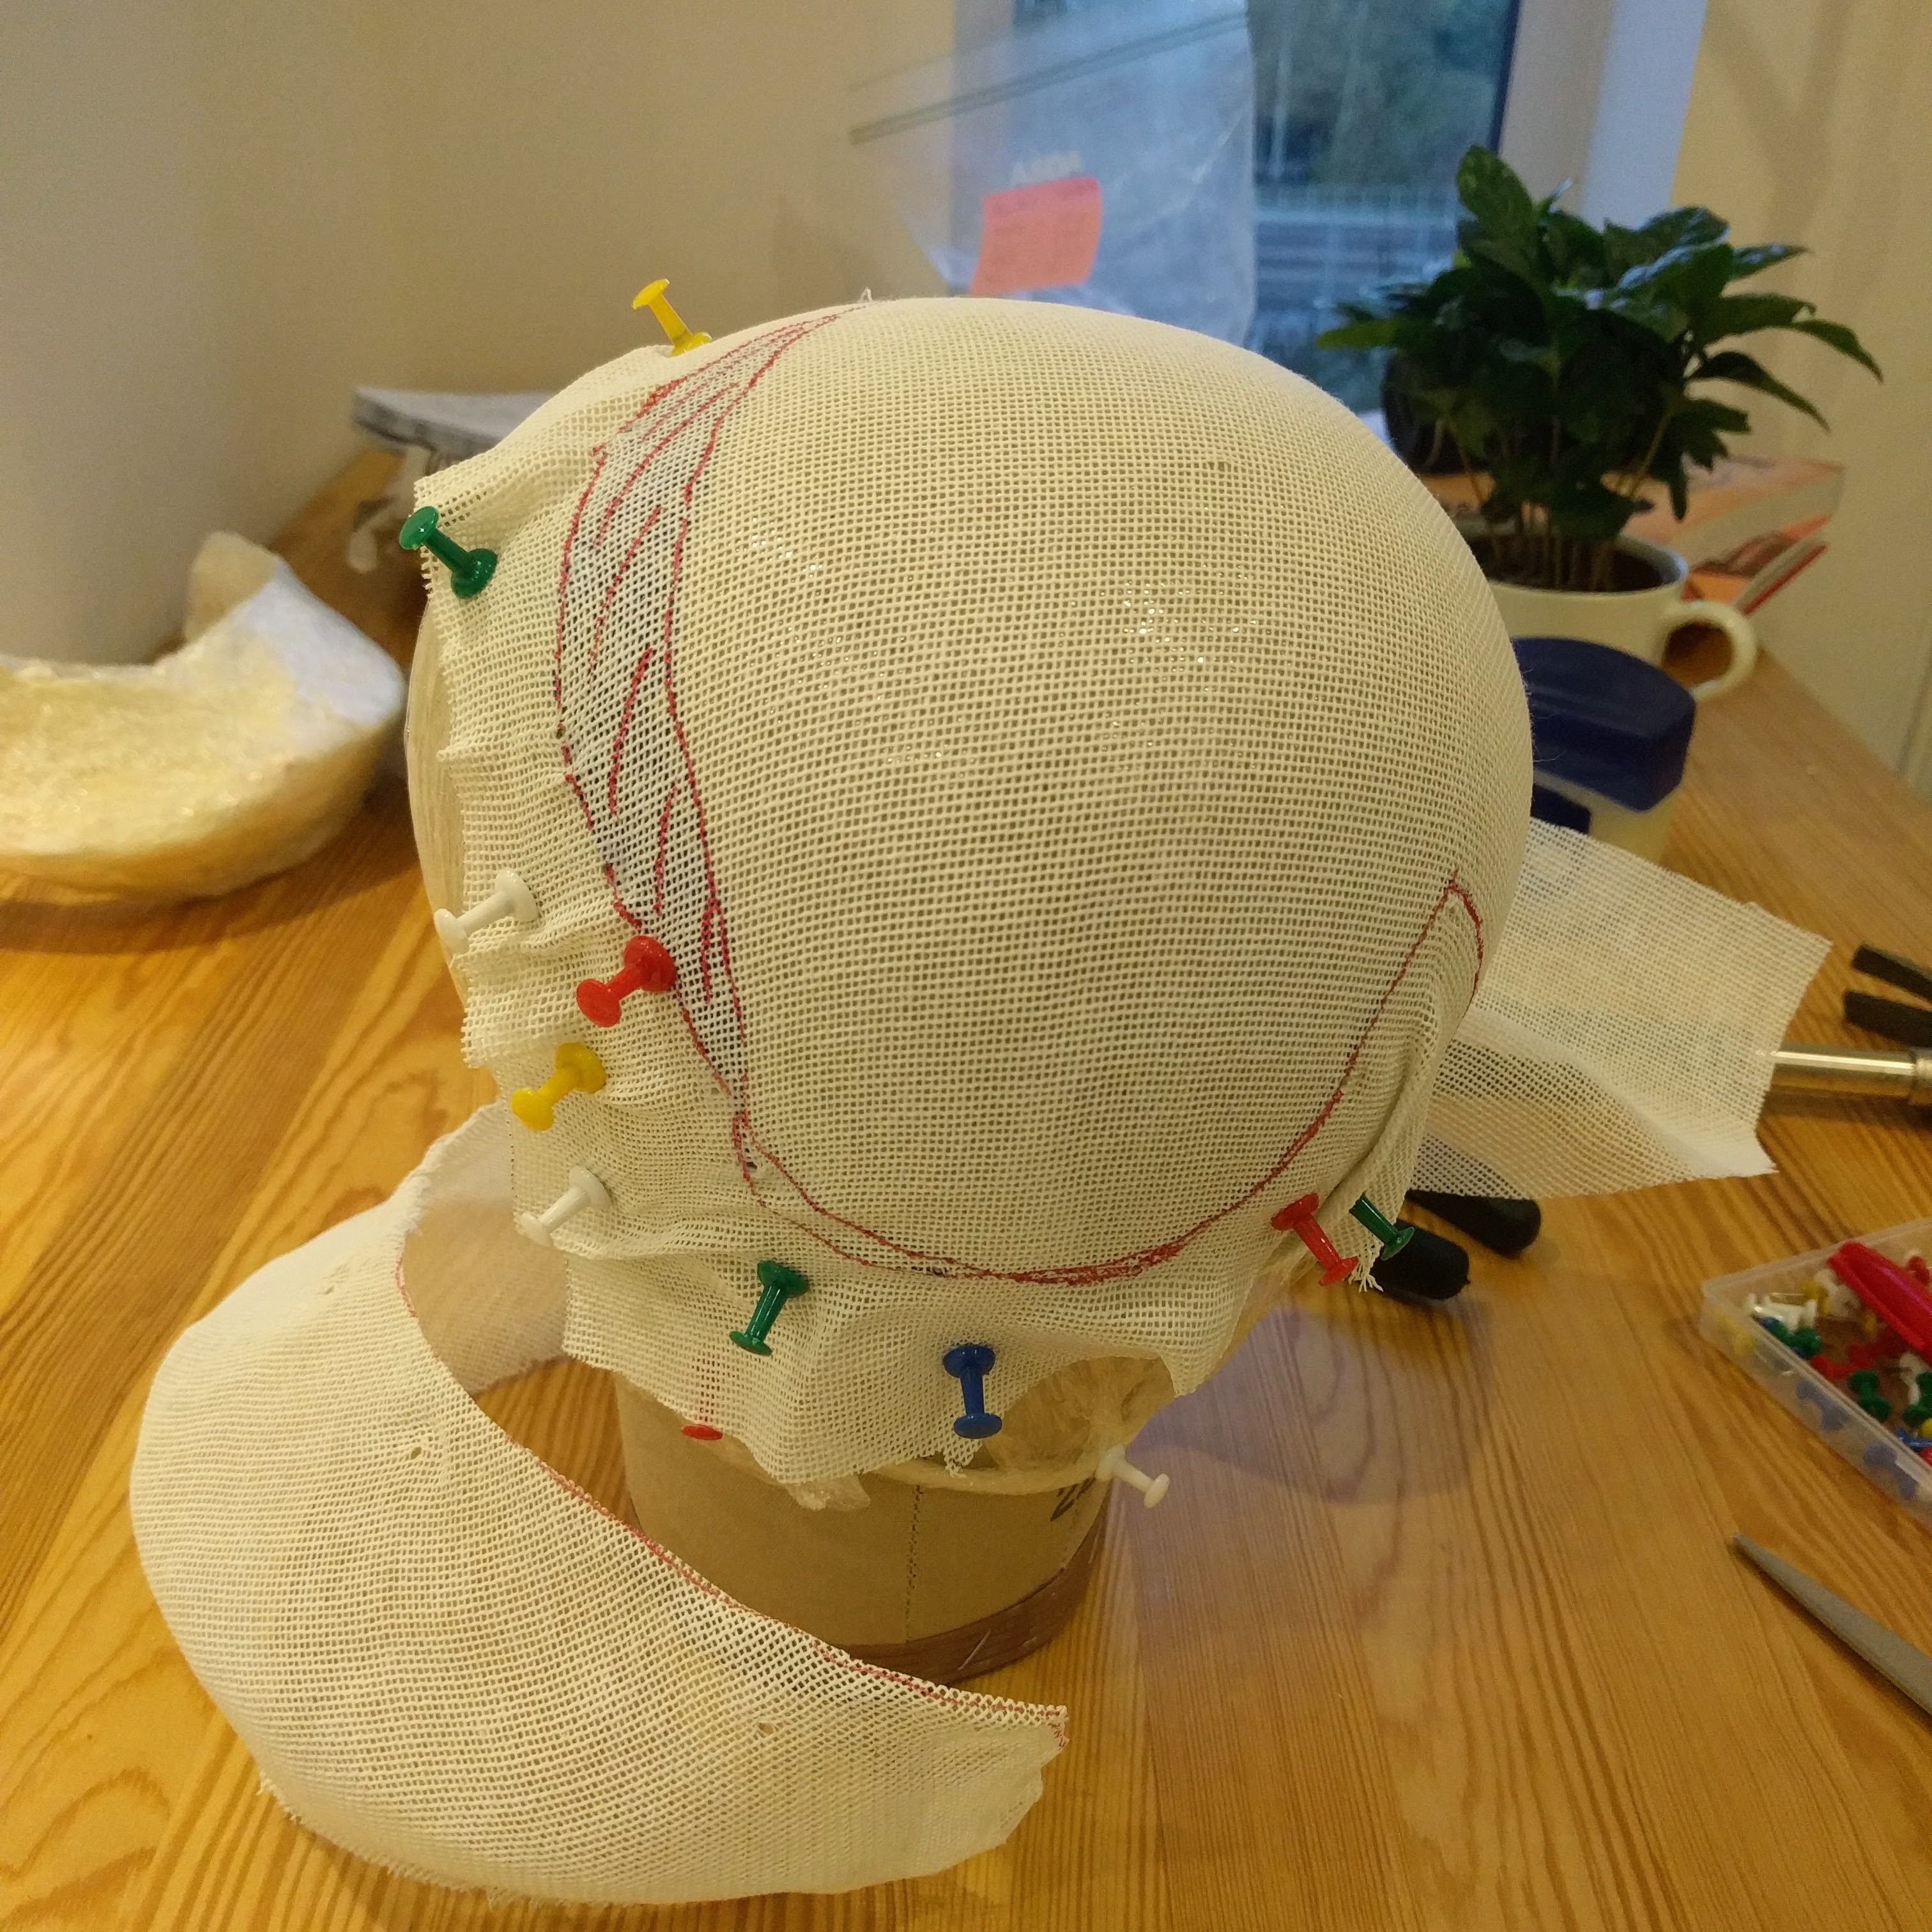
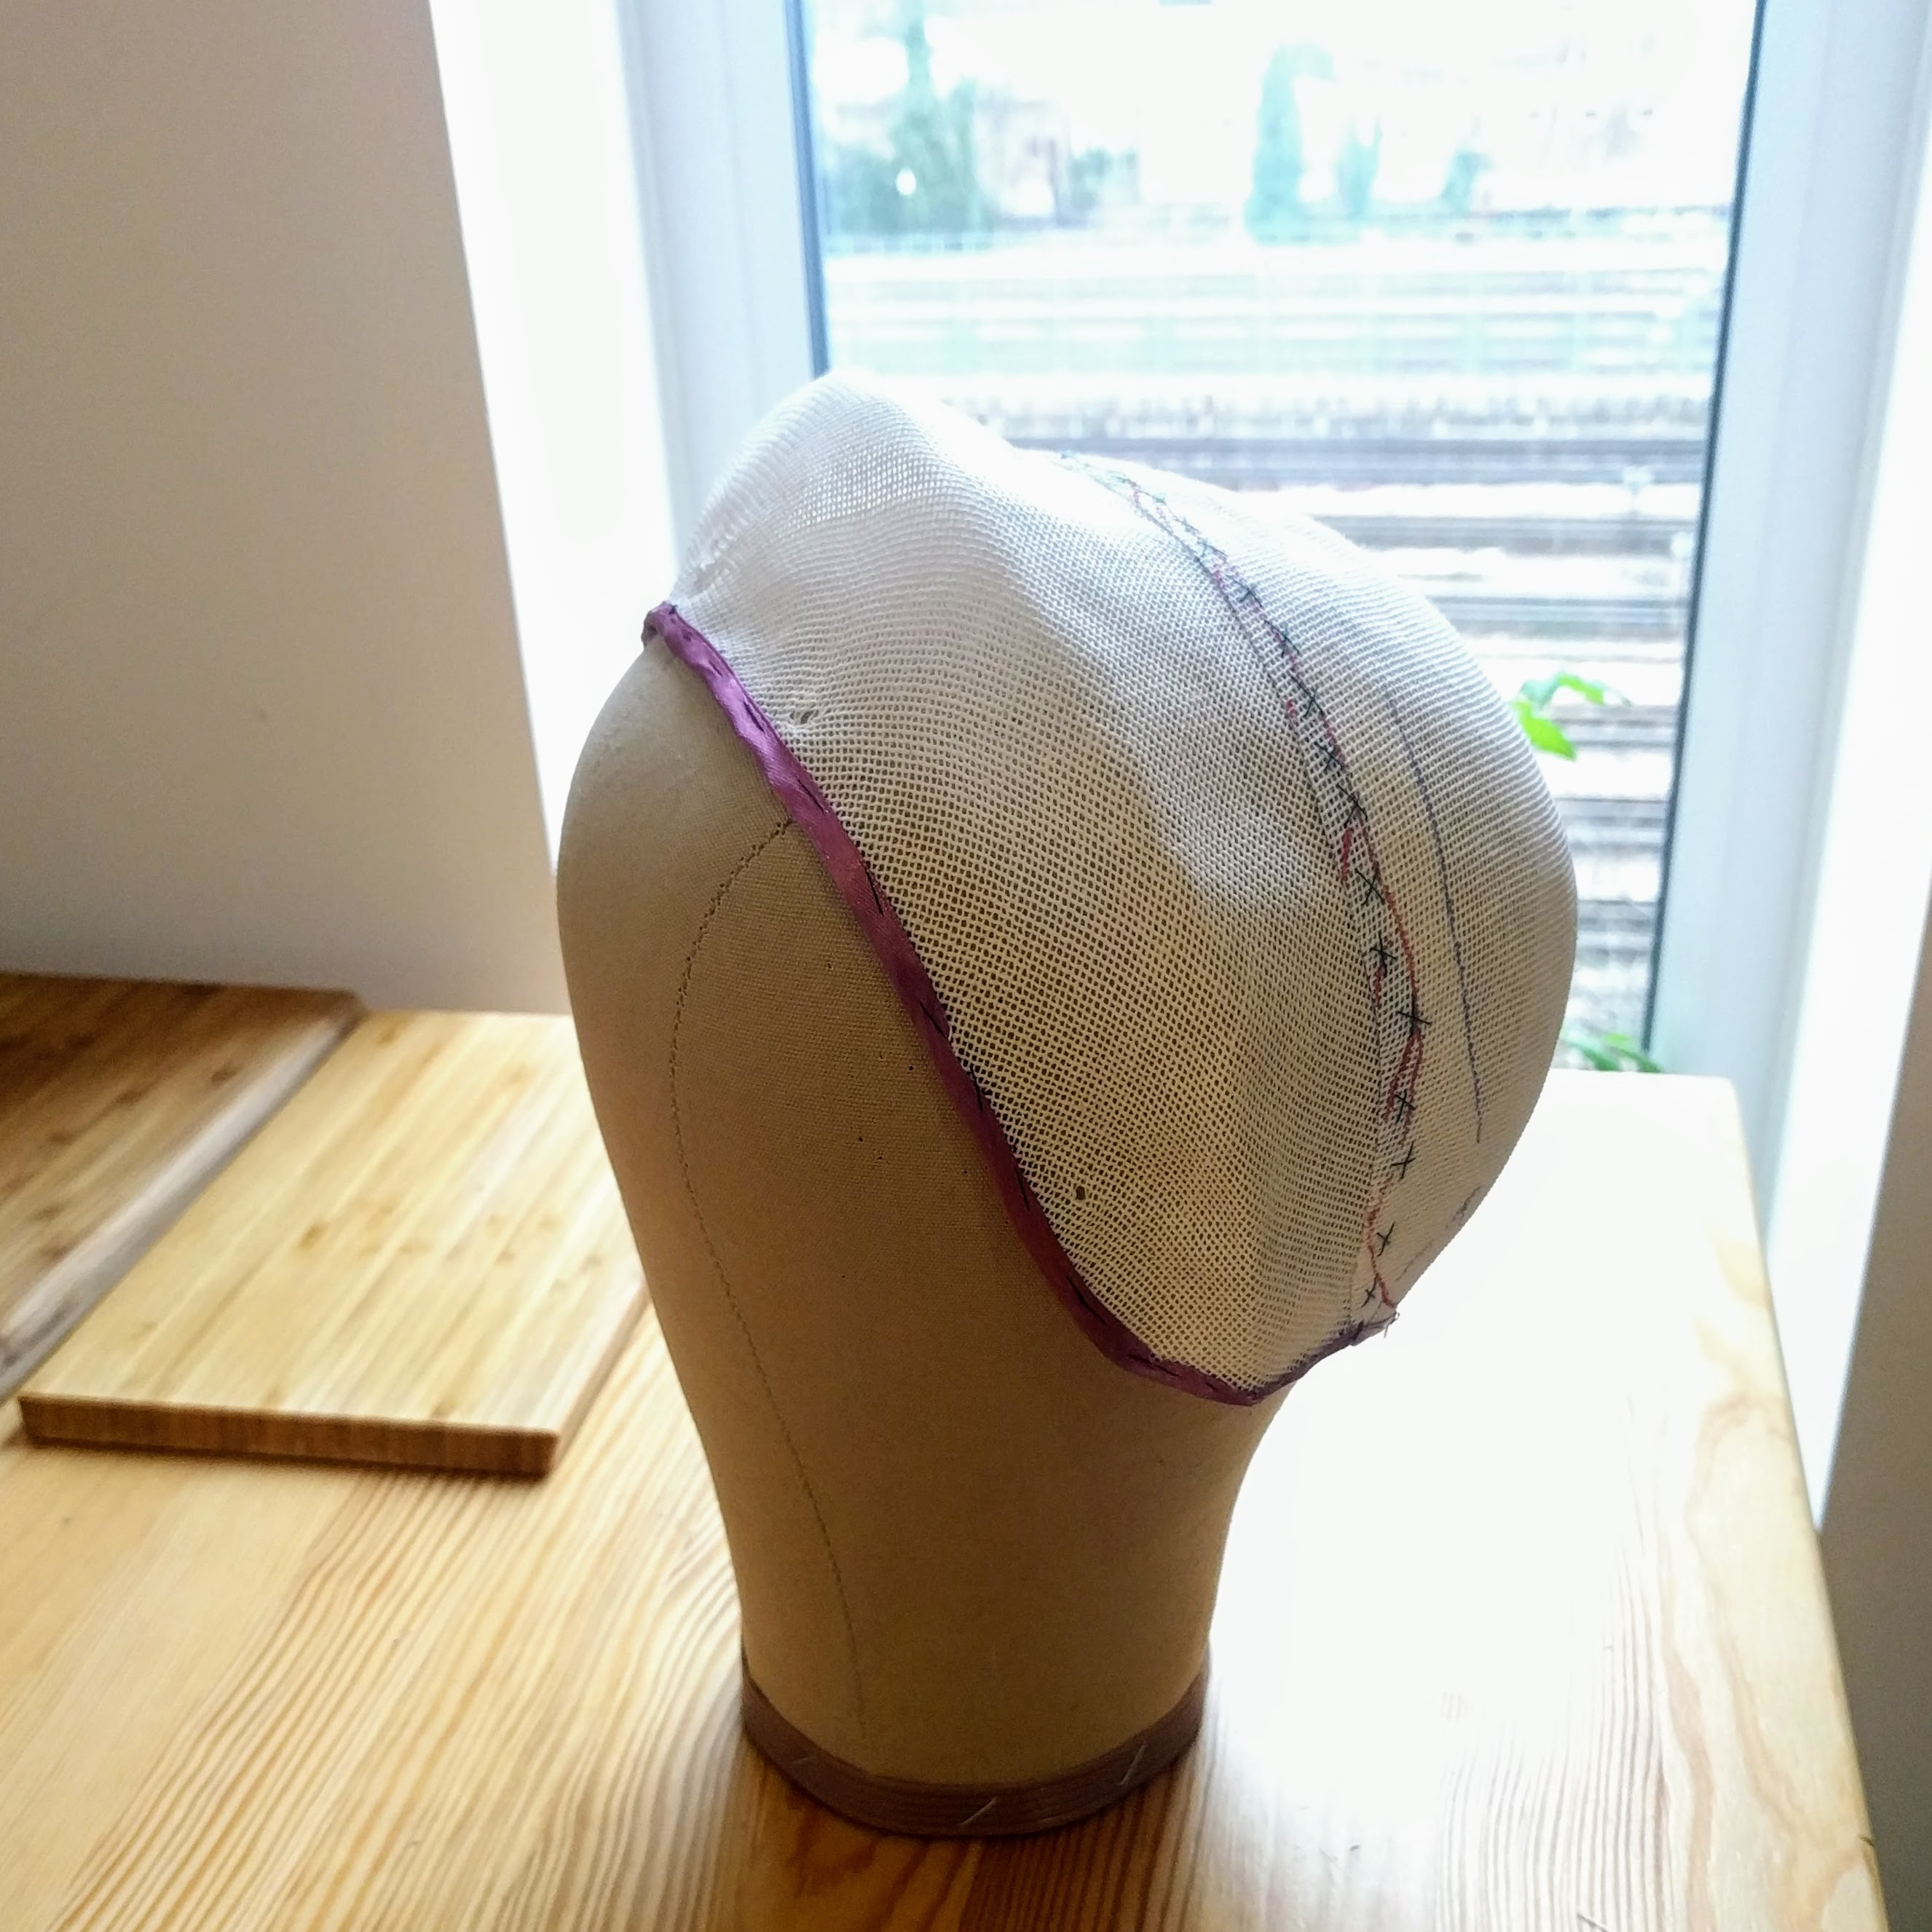
Next was the skull cap part. I also covered this in gaffer tape, and pined it to my mannequin head named Anne. I covered Anne in clingfilm and drew around the original skull cap in felt tip pen. Then I turned the original skull cap inside out, placed it back on Anne and realised that it was very uneven. So I drew around it again (with it the wrong way out) and evened out the line. You can see the unevenness by the part shaded in blue. I later realised that this drawing step was unnecessary. As I repeated it later over the top of the buckram once it had dried.
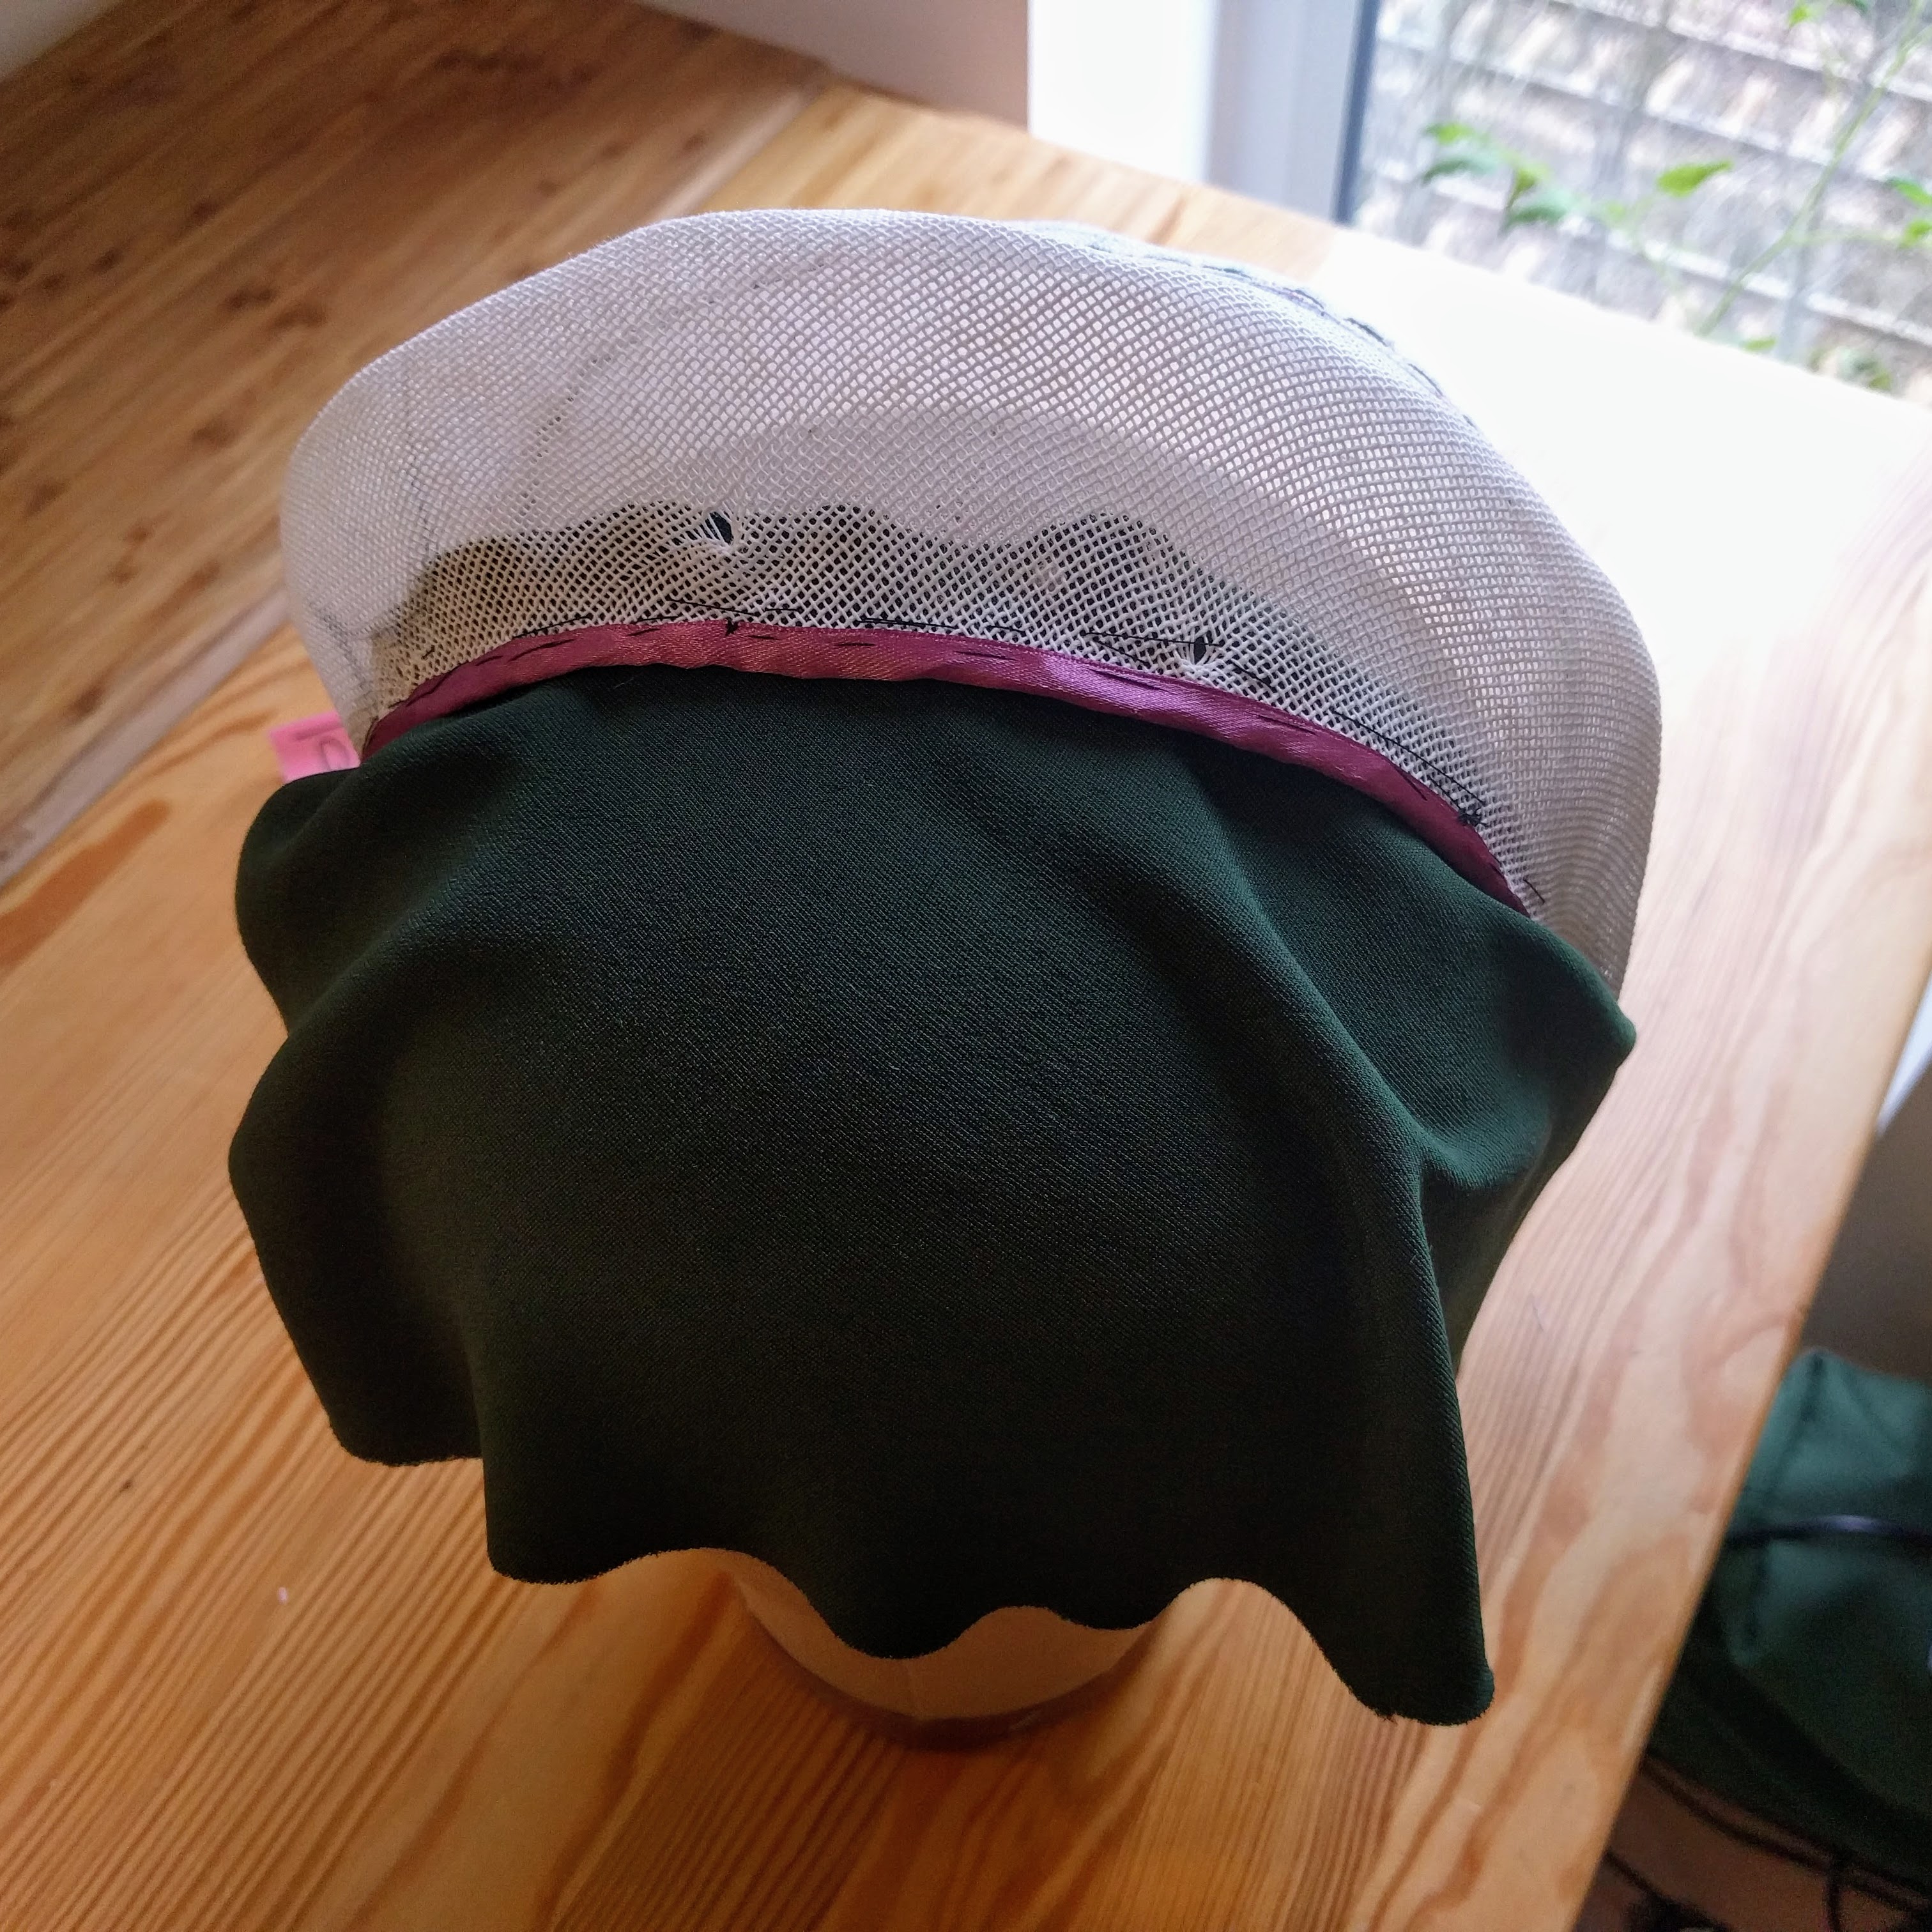
I sewed the 2 parts of the hat together using cross stitches. Then I sewed on a wire frame, and covered that in ribbon binding.
At this point I was disappointed with the fact that the halo crown was also very uneven, but I persevered on and covered that part with silk viscose velvet. I thought that it might look better when covered, but that was not the case.

Attempt 2
I took the whole of my new hat apart.
I tried re-making my plaster block using the best half of the previous plaster block. I did this by blocking another buckram halo, cutting it in half, turning it inside out and sewing and taping it to the best half of the previous buckram halo. I then covered this in gaffer tape, covered the inside with vaseline, and this time I poured plaster straight into the mould rather than using linen strips. This made for a very very heavy block!
I blocked in buckram again, this time I had enough material to fold in under the block. However I still didn’t like how the result turned out. It still wasn’t sitting correctly on my head.
At this point I was desperate not to give up and purchase a halo hat block. I decided that my dissatisfaction was to do with the materials I had used.
So I tried making a wire frame block – which didn’t work.
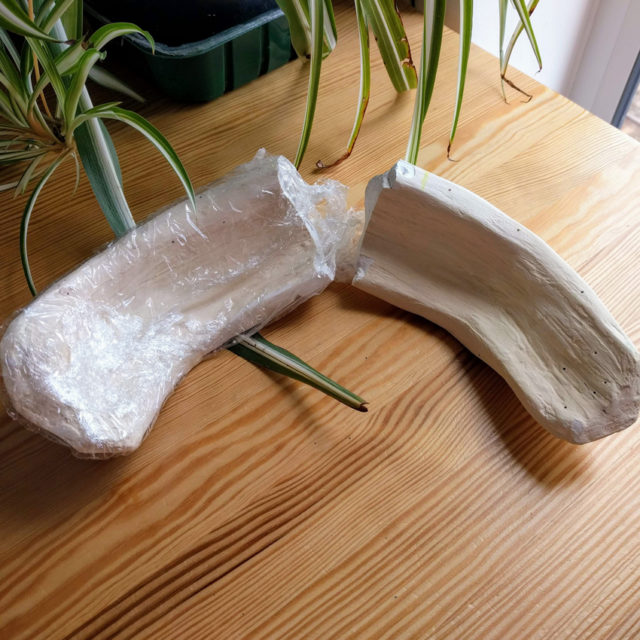
I also tried using Dior Net and sinamay on my second plaster block. This didn’t make any difference. I don’t really know what I was expecting, but obviously the materials wouldn’t make a difference, because I still didn’t like the shape of my second plaster hat block! Also with multiple use of this block, eventually it cracked in half. Maybe I should have stuck to using the linen strips plaster method, just as I did with my first block.

I think the block cracked because the plaster was too hard to take the impact of hammering the pins into it.
I gave in – I purchased a halo hat block.
Pingback: Green Velvet 1940s Halo